
Getting Started
This tutorial assumes that you are comfortable using a Unix terminal, that you have some experience programming in C++, and that you have a basic understanding of concurrency topics (threads, locks, compare-and-swap, data races).
In this step of the Remus tutorial, you'll learn about the required tools and software for building Remus programs, you'll download the Remus source code, and you'll learn about the files and folders in the Remus repository.
Software Configuration
Remus is a C++ library designed for the Linux operating system. Since this tutorial is focused on building and running Remus applications on NSF CloudLab, the easiest way to get started is to use Docker. This step of the tutorial will help you get set up, via Docker, without needing any other software on your development machine.
Below, you will find a Dockerfile that defines a container image that matches the configuration of CloudLab "r320" nodes. It includes the following software:
- Operating System: Ubuntu Linux 24.04
- C++20-Compatible Compiler: Clang++18
- Standard Build Tools and Libraries:
make,cmake,git,libnuma,gdb,python3 - RDMA Libraries:
librdmacm,libibverbs - Other Tools:
screen
To get started, navigate to the folder where you'd like to work, and paste the following text as a file named Dockerfile. (Note: the Remus GitHub Repository also contains a copy of this Dockerfile.)
docker
FROM ubuntu:24.04

# Get latest software (standard ubuntu package manager)
RUN apt-get update -y
RUN apt-get upgrade -y
RUN DEBIAN_FRONTEND=noninteractive apt-get install -y build-essential python3 cmake git man curl libnuma-dev librdmacm-dev libibverbs-dev screen lsb-release software-properties-common openssh-client

# Get LLVM 18
RUN curl -O https://apt.llvm.org/llvm.sh
RUN chmod +x llvm.sh
RUN ./llvm.sh 18
RUN rm ./llvm.sh

# Start in the `/root` folder
WORKDIR "/root"
To make a container image from this Dockerfile, go to the folder where this Dockerfile exists, and type the following (don't forget the trailing .):
docker buildx build --platform=linux/amd64 -t remus .
TIP
On Mac and Linux, you might need to prefix the command with sudo
Finally, launch an instance of the container. When you launch an instance, you'll want to map a part of your local filesystem into the container. A good choice is the location where you created the Dockerfile. The following command assumes you put the Dockerfile in /home/sss/remus_tutorial. If you are working in another location, be sure to change that part of the command.
bash
docker run --privileged --rm -v /home/sss/remus_tutorial/:/root -it remusTIP
On Mac and Linux, you might need to prefix the command with sudo
When you enter the above command, you should see something like the following:
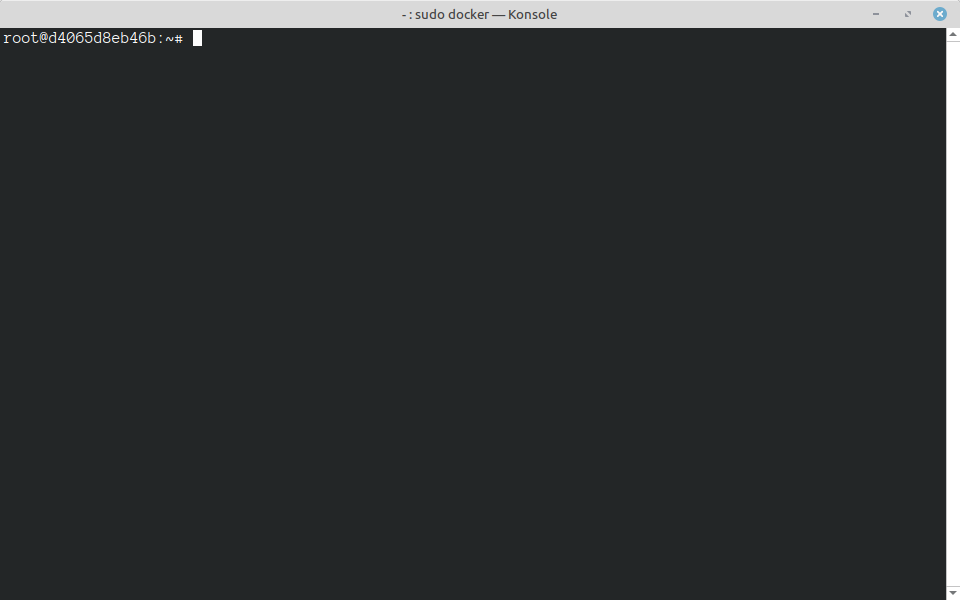
This indicates that you've successfully created a container instance. In the container instance, you're logged in as root, in the /root folder, and if you type ls, you should see that your folder has been mapped into the container correctly.
To close your container, type exit or press ctrl-d.
Getting The Code
If you are not in the remus container, launch it with the command you created in the previous step.
TIP
You might want to create a script for that command, so it's easier to launch containers.
From inside the container, in the /root folder, clone the remus repository. Note that by checking out your repository from inside of the Docker instance, you are guaranteed that line endings will be correct regardless of whether your development machine uses Linux, MacOS, or Windows.
bash
git clone https://github.com/sss-lehigh/remus-tutorial-2025.gitTIP
If you are working on a private research project, you will probably want to fork our repository, set up permissions on your fork, and set up ssh keys inside of your Docker instance.
A Quick Tour
The folder you just checked out should have the following files and folders in it:
If you type ls from the remus subfolder, you should see the following files and folders:
text
.
├── .gitignore
├── cl.config
├── cl.experiment
├── cl.sh
├── CMakeLists.txt
├── Dockerfile
├── Makefile
├── README.md
├── benchmark/
├── cmake/
├── rdma/
Here's some more information about these files and folders:
cl.shis a script for interacting with CloudLabcl.configis a template for providing configuration information tocl.shcl.experimentis a template for providing information tocl.shabout how to run experiments.CMakeLists.txtis used bycmaketo configure and build the code. You won't need to invoke this directly, it is handled through theMakefile.Dockerfileshould match theDockerfileyou created aboveMakefileprovidesmake cleanandmakecommands for buildingbenchmark/has a few example programscmake/has some configuration scripts so thatcmakecan find the RDMA libraries.rdma/has all of the Remus code, and also some small test programs
In most cases, you'll only write code in the benchmark/ subfolder. It has its own CMakeLists.txt file, where you can provide the names of new programs that you want to build.
When you're ready to test your code, you'll need to copy cl.config and cl.experiment. We recommend creating a local/ subfolder (which .gitignore prevents from being committed to the repository) for your copies of these files.